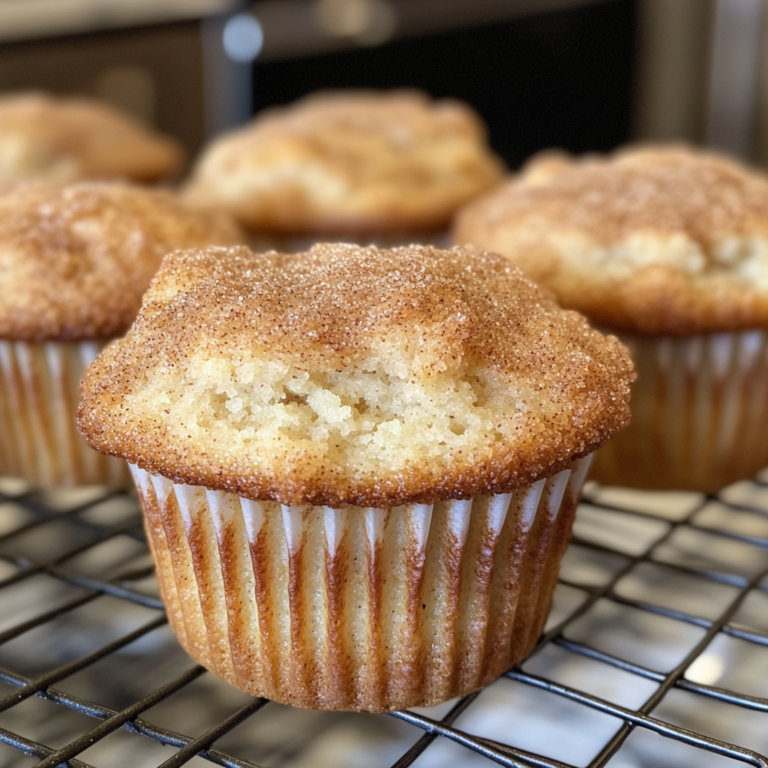
Cherry Pie Bars: A Delicious Twist on a Classic Dessert
Cherry pie bars offer a delightful twist on the classic cherry pie, making them an appealing dessert for any occasion. These bars combine a buttery crust with a sweet cherry filling, resulting in a treat that is both easy to make and simple to serve. They provide all the flavors of traditional cherry pie without the complexity of a whole pie.
Using fresh or canned cherries, these bars can be prepared in a matter of minutes. The recipe typically involves layering a crumbly crust, adding the cherry filling, and topping it with more crust. This straightforward process makes cherry pie bars an ideal choice for both novice and experienced bakers.
Perfect for picnics, potlucks, or a cozy family dessert, cherry pie bars are versatile and can accommodate various dietary preferences. With their vibrant color and inviting aroma, they are sure to please anyone with a sweet tooth.
History of Cherry Pie Bars
Cherry pie bars have a rich history that intertwines culinary tradition with regional ingredients. Exploring their origins and development reveals how this dessert evolved both in form and popularity.
Origin of Cherry Pie
Cherry pie can trace its roots back to ancient civilizations, where fruit was combined with pastry. Early desserts made with cherries appeared in Roman cookbooks, indicating a longstanding appreciation for this fruit in sweet dishes.
In the United States, cherry pie gained prominence in the 19th century as settlers utilized available ingredients. Cherries were abundant in many regions, particularly in Michigan, which is now one of the top cherry-producing states. The iconic status of cherry pie was solidified when it was featured in American folklore, symbolizing home and comfort.
Evolution into Bar Form
The transition from traditional cherry pie to cherry pie bars occurred in the 20th century, as baking styles evolved. Home bakers sought quicker, more portable options for desserts. Cherry pie bars emerged as a convenient alternative, allowing for easy serving and transport.
These bars typically consist of a buttery crust, cherry filling, and a crumbly topping, all baked in a single pan. This format became popular for gatherings, potlucks, and family events. The simplicity of the bar form appealed to those looking to enjoy the classic cherry pie flavor with less preparation time.
Key Ingredients
The success of cherry pie bars lies in selecting the right ingredients. Each component contributes to the flavor, texture, and overall enjoyment of the dessert.
Cherry Varieties
Choosing the right cherries is essential for flavor and texture. Common varieties include:
- Bing Cherries: These sweet and juicy cherries are perfect for desserts.
- Sour Cherries: Known for their tartness, these cherries balance well with sweet components.
- Rainier Cherries: Sweet and slightly floral, they add a unique taste.
Fresh or frozen cherries can be used. Frozen cherries are especially convenient but may require draining excess juice to prevent a soggy crust. Canned cherries can be an option, but they often contain added sugars and may lack the freshness of other choices.
Crust Essentials
The crust serves as the foundation for cherry pie bars. A good crust should be buttery, flaky, and sturdy enough to hold the filling. Key components of the crust include:
- All-Purpose Flour: This provides structure. It is vital for achieving the right texture.
- Butter: Unsalted butter adds rich flavor. Cold butter helps create a flakier texture.
- Sugar: Adding sugar enhances flavor and helps with browning during baking.
- Salt: A small amount of salt balances sweetness.
Some recipes utilize oatmeal or graham cracker crumbs for a different texture. Incorporating a mix of fats, like butter and shortening, can also improve flakiness.
Sweetener Options
The choice of sweetener affects the overall taste of cherry pie bars. Several options allow for customization:
- Granulated Sugar: The most common choice, dissolving easily and providing a classic sweet flavor.
- Brown Sugar: Adds a slight molasses taste, enhancing the depth.
- Honey or Maple Syrup: These natural sweeteners bring unique flavors, but they may alter the moisture content.
Adjusting the type and amount of sweetener impacts the balance between the tartness of the cherries and the sweetness of the filling. It’s essential to taste and adjust based on personal preference.

Required Kitchen Tools
To prepare Cherry Pie Bars efficiently, certain kitchen tools are essential.
- Mixing Bowls: A set of various sizes is ideal for mixing ingredients.
- Measuring Cups and Spoons: Accurate measurements are crucial for baking success.
- Spatula: A silicone or rubber spatula works well for mixing and spreading.
- Rolling Pin: Useful for rolling out the dough evenly.
- Baking Dish: A 9×13-inch pan is recommended for proper baking.
- Parchment Paper: Prevents sticking and facilitates easy cleanup.
- Whisk: Needed for combining dry ingredients.
- Knife: Essential for slicing the cherry filling or cutting bars.
- Cooling Rack: Allows bars to cool evenly.
Having these tools ready will streamline the preparation process and enhance the baking experience. Each tool serves a specific function that supports the recipe.
Step-by-Step Baking Process
This section details the essential steps for baking cherry pie bars. Each part focuses on the key elements for preparing the cherry filling, mixing the dough, assembling the layers, and baking.
Preparing the Cherry Filling
Start by selecting fresh or frozen cherries. If using fresh cherries, wash and pit them. For frozen cherries, allow them to thaw, then drain excess juice.
In a medium saucepan, combine the cherries, 1/2 cup of sugar, 2 tablespoons of cornstarch, and 1 tablespoon of lemon juice. Mix these ingredients thoroughly until the cherries are well-coated.
Heat the mixture over medium heat, stirring frequently. Once it begins to bubble, reduce the heat and simmer for about 5-7 minutes. This will help thicken the filling. Set aside to cool while preparing the dough.
Mixing the Dough
In a large mixing bowl, combine 2 cups of all-purpose flour, 1/2 cup of granulated sugar, and 1 teaspoon of baking powder. Whisk these dry ingredients together to ensure even distribution.
Add 1/2 cup of softened butter cut into small pieces to the dry mixture. Use a pastry cutter or your fingers to blend until the mixture resembles coarse crumbs.
In a separate bowl, whisk together 1 large egg and 1 teaspoon of vanilla extract. Pour this mixture into the dry ingredients and combine until the dough comes together. The dough should be soft but not too sticky.
Assembling the Layers
Preheat the oven to 350°F (175°C). Grease a 9×13 inch baking dish.
Divide the dough into two equal portions. Press the first half into the bottom of the baking dish to form an even layer.
Spread the cherry filling over this layer evenly, ensuring it reaches the corners. Crumble the second half of the dough over the cherry layer, creating a rustic topping. Aim for a nice balance of filling visible through the crumbles.
Baking and Cooling
Place the assembled dish in the preheated oven. Bake for around 30-35 minutes or until the top is golden brown and the filling bubbles.
Once baked, remove from the oven and let it cool in the dish for at least 10-15 minutes. This cooling period allows the filling to set, making it easier to cut.
After cooling, carefully slice into bars and serve warm or at room temperature. Enjoy the cherry pie bars with a scoop of ice cream or plain.
Texture and Flavor Considerations
Cherry pie bars must strike a balance between texture and flavor to create a satisfying dessert. Key elements include a flaky crust and a harmonious sweet-tart filling that complements the cherries.
Achieving a Flaky Crust
To achieve a flaky crust, the right ratio of fat to flour is crucial. Using chilled butter or shortening creates distinct layers that contribute to a tender texture.
Tips for a Flaky Crust:
- Keep Ingredients Cold: Chilled butter prevents it from melting before baking.
- Minimal Mixing: Overworking the dough can lead to toughness. Mix until just combined.
- Resting the Dough: Allowing the dough to rest in the fridge for at least 30 minutes helps relax the gluten.
The crust should be rolled out evenly to ensure consistent baking. Baking in a pre-heated oven allows for proper puffing, resulting in a desirable bite.
Balancing Sweetness and Tartness
Finding the right balance between sweetness and tartness is essential for cherry pie bars. Sweet cherries provide a natural sweetness but often require additional acidity to prevent overpowering flavors.
Balancing Tips:
- Adding Lemon Juice: A splash enhances the fruit’s natural tang.
- Using Sugar Wisely: Adjust sugar levels based on the cherry variety—sour cherries typically need more sugar.
- Tasting During Preparation: Regular tasting allows adjustments to sweetness and acidity before final baking.
This combination keeps the filling vibrant while ensuring it pairs well with the crust. The texture should be thick enough to hold shape yet juicy enough for a burst of flavor with each bite.
Variations and Substitutions
Cherry pie bars can be customized to suit different dietary preferences and taste preferences. Variations can include using alternative ingredients and adding unique toppings or mix-ins.
Dietary Adaptations
For gluten-free options, use a gluten-free flour blend instead of all-purpose flour. This substitute will maintain the texture and structure of the bars.
To make the recipe dairy-free, one could replace butter with coconut oil or a plant-based butter alternative.
For a vegan version, substitute the egg with a flaxseed meal or applesauce. Using a sweetener like maple syrup or agave can also cater to those looking for healthier sugar alternatives.
Creative Toppings and Add-Ins
There are many ways to enhance the flavor profile of cherry pie bars.
Toppings could include a drizzle of chocolate or a sprinkle of powdered sugar for added sweetness.
Add-ins like chopped nuts or oats can offer texture.
Incorporating spices like cinnamon or nutmeg can introduce warmth to the bars. A layer of cream cheese frosting or vanilla glaze can also provide a rich contrast to the tart cherries.
Experimentation with flavors can lead to delicious new creations.

Serving Suggestions
Cherry pie bars can be enjoyed in various ways that enhance their flavor and appeal. The following suggestions will help maximize enjoyment and maintain freshness.
Pairing with Beverages
Choosing the right beverage can elevate the experience of enjoying cherry pie bars. Here are some excellent options:
- Coffee: A warm cup of black coffee complements the sweetness of the cherry filling.
- Tea: Herbal teas, such as chamomile or mint, provide a refreshing contrast.
- Milk: A glass of cold milk is a classic pairing, especially for younger audiences.
- Ice Cream: Serve cherry pie bars warm with a scoop of vanilla ice cream for a delightful à la mode treat.
Consider offering a variety of beverages to cater to different tastes and preferences.
Storage and Freshness Tips
To maintain the quality of cherry pie bars, proper storage is essential. Here are key tips:
- Room Temperature: Store bars in an airtight container for up to 3 days at room temperature. This keeps them moist.
- Refrigeration: For longer storage, keep bars in the refrigerator for up to a week. Place parchment paper between layers to prevent sticking.
- Freezing: For extended freshness, freeze individually wrapped bars for up to three months. Thaw at room temperature when ready to eat.
- Reheating: Gently warm bars in the microwave for about 10-15 seconds to enhance flavor before serving.
Following these tips will help preserve the taste and texture of cherry pie bars.